Audi A6 Typ 4G: Door Windows
Overview - Front Door Window
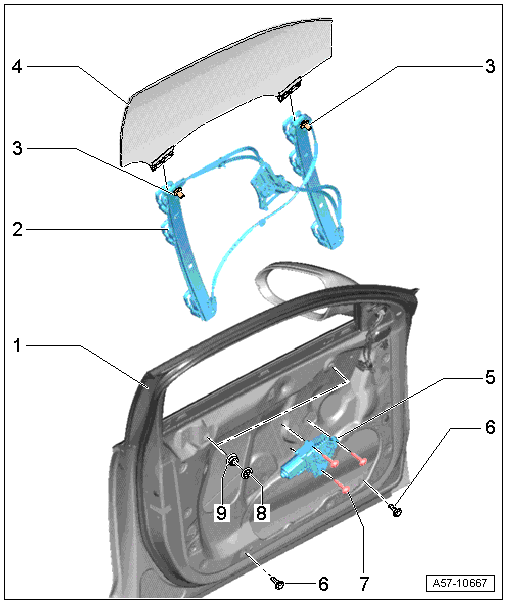
1 - Front Door
2 - Window Regulator
 Note
Note
Vehicles with tinted glass have a different version.
- Removing and installing. Refer to → Chapter "Window Regulator, Removing and Installing".
3 - Threaded Pins
4 - Door Window
Note
Vehicles with tinted glass have a different version.
- Removing and installing. Refer to → Chapter "Front Door Window, Removing and Installing".
5 - Window Regulator Motor
- Removing and installing. Refer to → Chapter "Window Regulator Motor, Removing and Installing".
6 - Bolt
- 6 Nm
7 - Bolt
- 3.5 Nm
8 - Cap
Overview - Rear Door Window
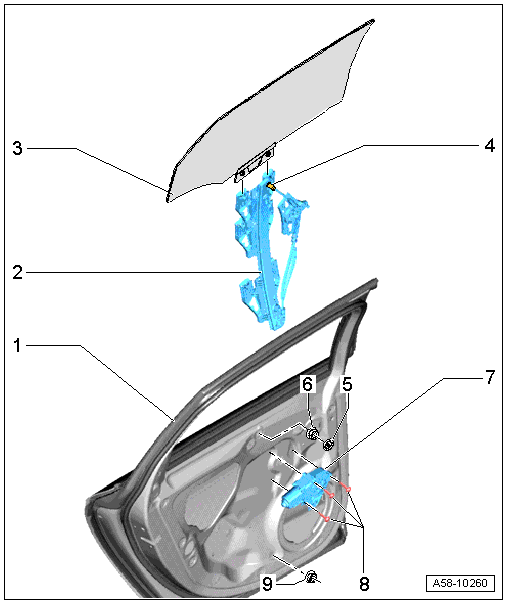
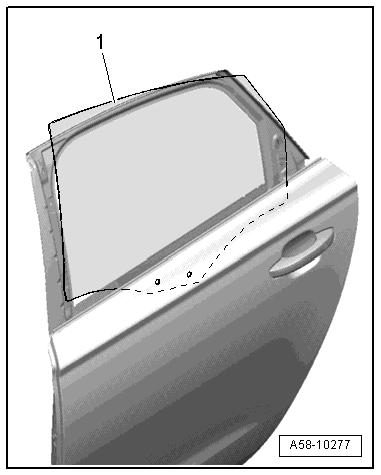
1 - Rear Door
2 - Window Regulator
Note
Vehicles with tinted glass have a different version.
- Removing and installing. Refer to → Chapter "Window Regulator, Removing and Installing".
3 - Door Window
Note
Vehicles with tinted glass have a different version.
- Removing and installing. Refer to → Chapter "Rear Door Window, Removing and Installing".
4 - Threaded Pins
5 - Cap
- Pry out of the inner door panel
6 - Nut
- Tightening specification. Refer to -item 6-.
7 - Left Rear Window Regulator Motor -V26-
- Removing and installing. Refer to → Chapter "Window Regulator Motor, Removing and Installing".
8 - Bolt
- Quantity: 3
- Tightening specification. Refer to -item 8-.
9 - Nut
- Tightening specification . Refer to -item 9-.
Front Door Window, Removing and Installing
Removing
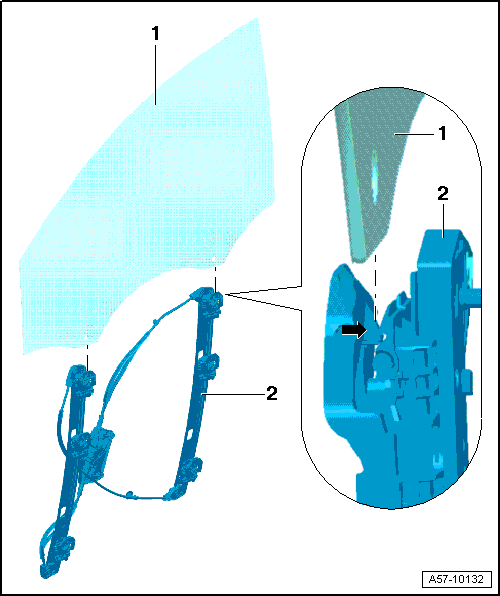
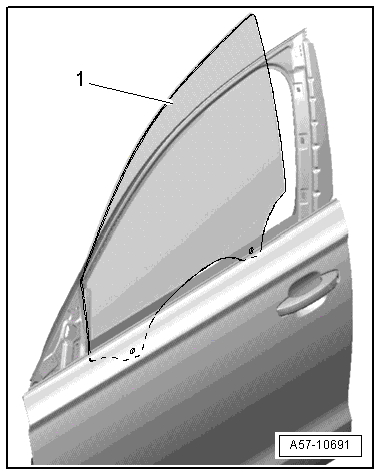
1 - Door Window
- Remove the door cover. Refer to → Chapter "Door Inner Cover, Removing and Installing".
- Remove the speaker. Refer to → Communication; Rep. Gr.91; Sound System; Front Bass and Bass/Midrange Speakers, Removing and Installing.
- To remove, release catches -arrow- from coupling plate -2- with a screwdriver and pull window -1- in window guide up slightly.
- Tilt the window forward and remove it upward from the door.
2 - Window Regulator
- The window regulator remains installed inside the door.
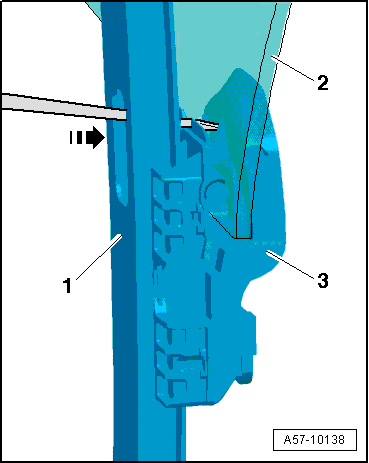
Door Window, Removing
- Lower the door window.
- Using a screwdriver, press coupling plate -3- outward to release through cut-out in window guide -1- and hole in door window -2-.
- Remove window upward from coupling plate.
- Tilt the window forward and pull it straight upward and out of the window guide.
Door Window, Inserting
- Insert door window -1- diagonally toward front in door window guide.
- Align window in front and rear window guides and slide it down.
- Press window down into coupling plate.
- This engages coupling plate in window.
Rear Door Window, Removing and Installing
Special tools and workshop equipment required
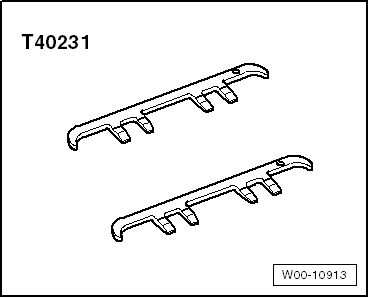
- Side Window Removal Tool -T40231-
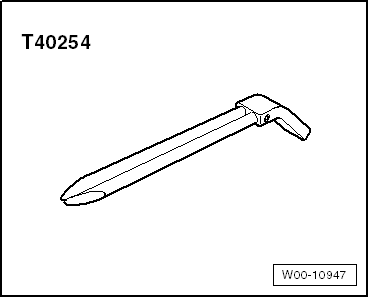
- Heat Insulating Glass Release Tool -T40254-
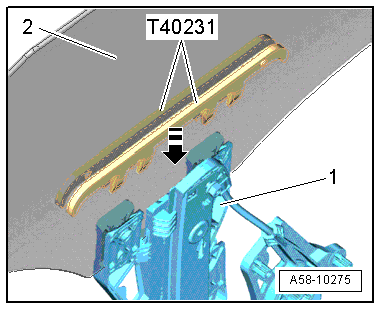
Remove the Door Window with Standard Glass
- Remove the inner door panel cover. Refer to → Chapter "Door Inner Cover, Removing and Installing".
- Remove the inner window shaft strip.
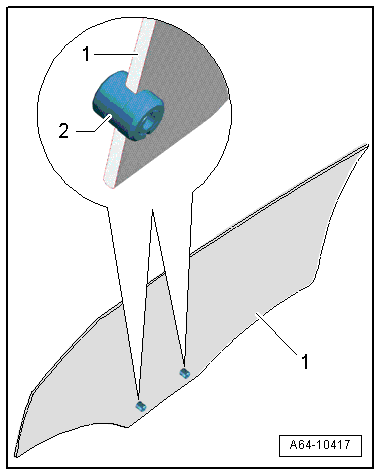
- Insert the Side Window Removal Tool -T40231- on both side of the door window and push it downward on the mount on the window regulator -1-.
- The mount on the window regulator bends open so that the door window can be lifted upward by the mounting pin.
- Remove the door window -2- upward out of the mount and remove it from the door.
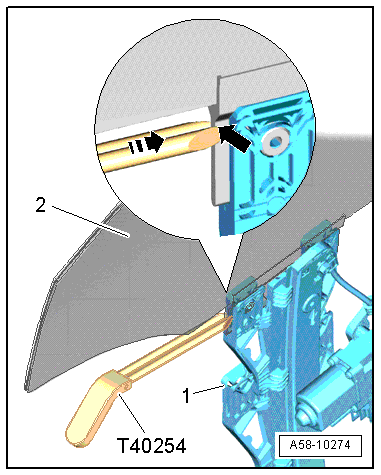
Removing a Door Window with Tinted Glass
- Insert the Heat Insulating Glass Release Tool -T40254- in direction of -arrow- completely onto the adapter -arrow-.
- The mount on the window regulator bends open so that the door window can be lifted upward by the mounting pin.
Door Window, Installing
Note
The mounting pins must be pushed in first with new door windows with standard glass.
- Insert the mounting pins -2- into the center of the door window -1- and push the clamping pin in so that it is flush.
- Insert door window -1- diagonally toward back in door window guide.
- Line up the door window inside the window guides and push it down. Make sure the door window move exactly into the front and rear mount.
- Press window down into window regulator mount.
- The mounting pins will audibly lock into the mount.
Special Tools
Special tools and workshop equipment required
- Side Window Removal Tool -T40231-
- Heat Insulating Glass Release Tool -T40254-
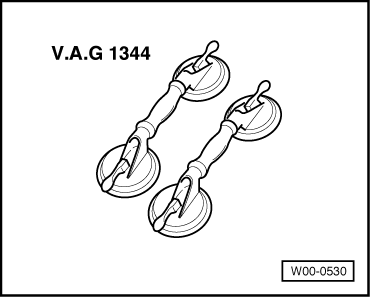
- Double Suction Lifter -VAG1344-
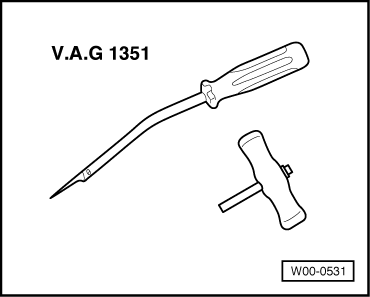
- Bonded Window Tool Kit -VAG1351-
- Bonded Window Tool Kit - Pull Handle -VAG1351/1-
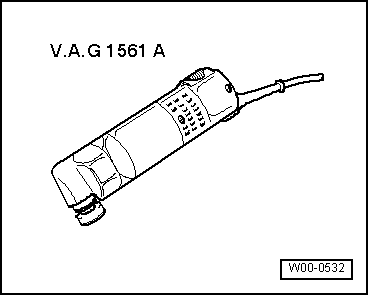
- Window Cutter -VAG1561A-
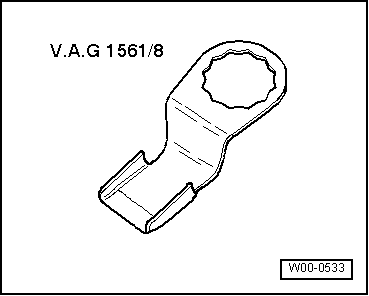
- Window Cutter - Scraper (2 pc.) -VAG1561/7+8-
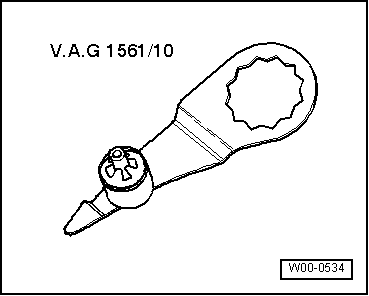
- Blade, Offset -VAG1561/10-
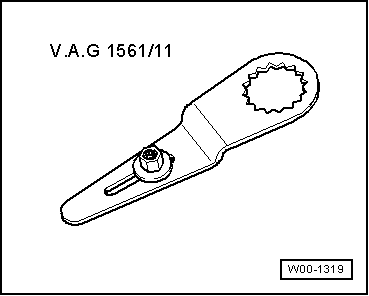
- Window Cutter - Universal Blade (2 pc.) -VAG1561/11-
- Cartridge Gun -VAG1628-
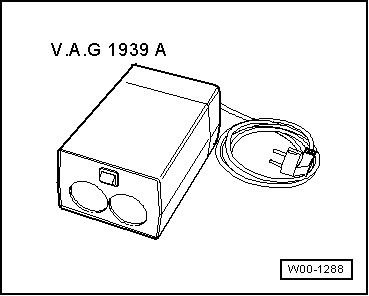
- Cartridge Heater -VAG1939A-
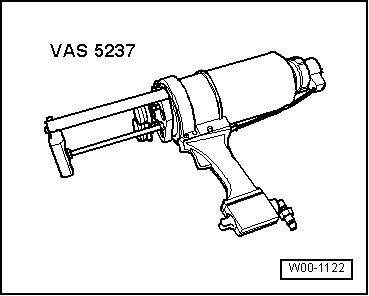
- Double Cartridge Gun -VAS5237-
- Window Repair Kit -VAS1993- or -VAS6092-
- Cutting Tool for Bonded Windows -VAS6452-
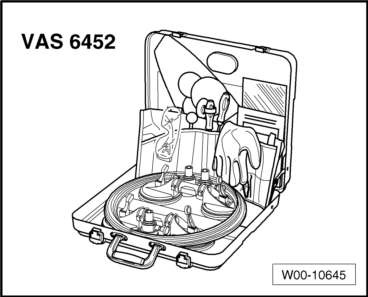
- Cutting Tool for Bonded Windows - Wire Reel -VAS6452/1-
- Cutting Tool for Bonded Windows - Wire -VAS6452/2-

- Window Repair Kit -VAS 1993- or -VAS 6092-