Audi A6 Typ 4G: Horn
Overview - Horn
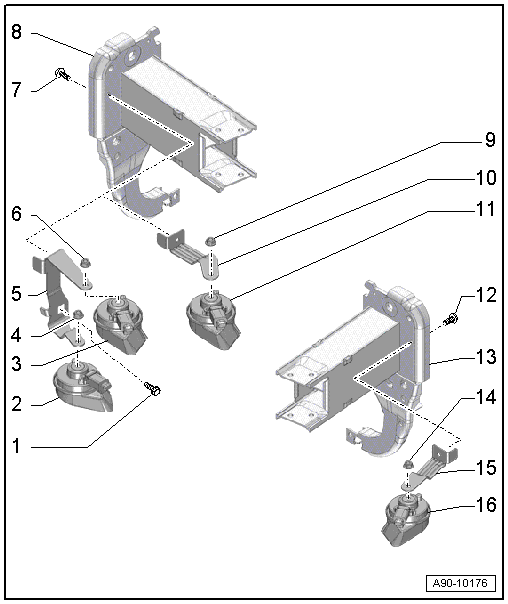
1 - Screw
- Tightening specification: Refer to → Body Exterior; Rep. Gr.63; Front Bumper; Overview - Impact Member
2 - High Tone Horn -H2-
- For vehicles with a TDI engine
- Removing and installing. Refer to → Chapter "High Tone Horn -H2-/Low Tone Horn -H7-, Removing and Installing".
3 - Low Tone Horn -H7-
- For vehicles with a TDI engine
- Removing and installing. Refer to → Chapter "High Tone Horn -H2-/Low Tone Horn -H7-, Removing and Installing".
4 - Nut
- 11 Nm
5 - Bracket
- For signal horns
- Removing and installing. Refer to → Chapter "Mount for Horns, Removing and Installing".
6 - Nut
- 11 Nm
7 - Screw
- 8 Nm
8 - Right Impact Member Mount
9 - Nut
- 11 Nm
10 - Bracket
- For the right horn
- Removing and installing. Refer to → Chapter "Mount for Horns, Removing and Installing".
11 - High Tone Horn -H2-
- For vehicles with a gasoline engine
- Removing and installing. Refer to → Chapter "High Tone Horn -H2-/Low Tone Horn -H7-, Removing and Installing ".
12 - Screw
- 8 Nm
13 - Left Impact Member Mount
14 - Nut
- 11 Nm
15 - Bracket
- For the left horn
- Removing and installing. Refer to → Chapter "Mount for Horns, Removing and Installing".
16 - Low Tone Horn -H7-
- For vehicles with a gasoline engine
- Removing and installing. Refer to → Chapter "High Tone Horn -H2-/Low Tone Horn -H7-, Removing and Installing ".
Special Tools
Special tools and workshop equipment required
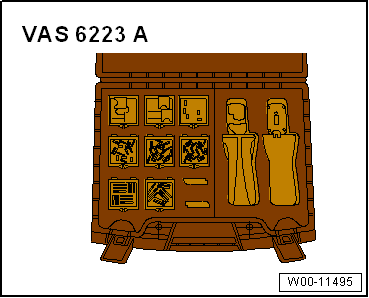
- Fiber-Optic Repair Set - Connector Protective Caps -VAS6223/9- from Fiber-Optic Repair Set -VAS6223B-
- Head-Up Display Calibration Board - Audi A6 -VAS6657-
- Calibration Board - Head-Up Display -VAS6658-