Audi A6 Typ 4G: Window Guide, Removing and Installing
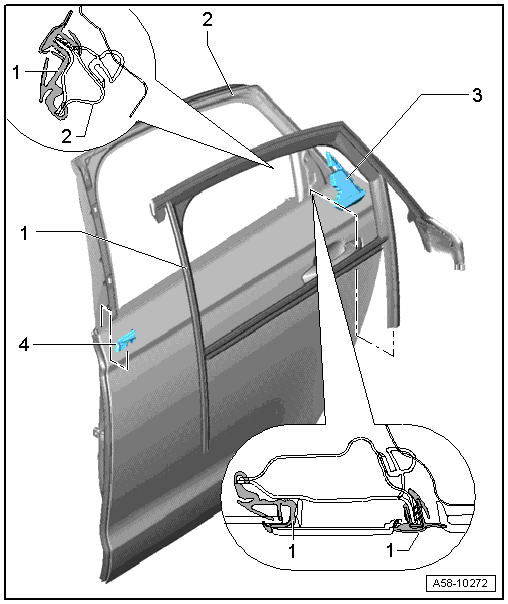
1 - Window Guide
- Removing
- Remove the door trim panel and window frame trim panel. Refer to → Body Interior; Rep. Gr.70; Rear Door Trim Panels; Window Frame Trim Panel, Removing and Installing.
- Remove the C-pillar trim. Refer to → Chapter "Overview - Rear Door Window Shaft Strip, B-Pillar Trim".
- The door window is removed. Refer to → Chapter "Rear Door Window, Removing and Installing".
- Unhook the window guide on the bottom of the window frame from the flange.
- Remove the window guide on the B-pillar (self-adhesive).
- Remove the window guide from the B-pillar trim and unclip it (4x) on the C-pillar.
- Remove the inner window shaft strip from the door flange.
- Remove the window guide on the B-pillar and on the C-pillar from the door.
- Remove the window guide from the door.
- Installing
- For easier installation, coat window guide with a soap solution.
- Position the window guide at the top of the B-pillar and then push it to the rear into the guide with the clip.
- When doing this, the molded piece must contact the door.
- Press the window guide on the window frame and clip it to the C-pillar.
- Install the trim on the B-pillar and on the C-pillar and push it into the window guide.
- Press the window shaft strip back on.
 Caution
The adhesive surface must be free of dust and grease.
- Clean the adhesive surface on the door with Cleaning Solution -D 009 401 04-.
- Tape the sealing profile for the window guide to the B-pillar with two-sided adhesive tape.
2 - Door
3 - C-Pillar Seal
4 - B-Pillar Seal
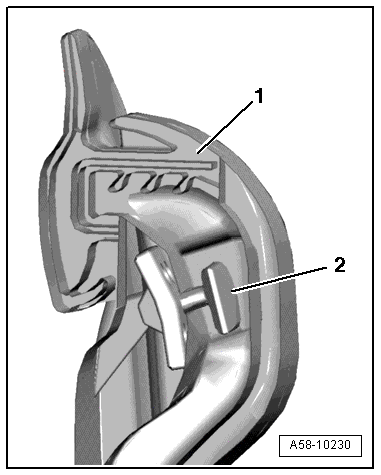
Install the Guide
- Push the guide and the clip -1- onto the top of the B-pillar -arrow- as illustrated.
Window Shaft Strip, Removing and Installing
Special tools and workshop equipment required
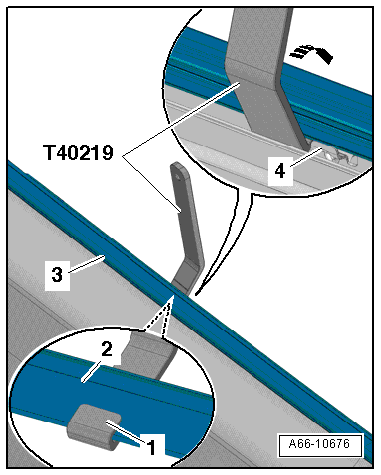
- Window Slot Seal Tool -T40219-
Window Slot Seal Tool -T40219- preparing:
- To remove the window shaft strip, pull the Window Slot Seal Tool -T40219- carefully at the marked location -arrow- so that it can be inserted behind the strip.

Removing
- Lower the door window.
- Remove the window frame trim panel. Refer to → Body Interior; Rep. Gr.70; Rear Door Trim Panels; Window Frame Trim Panel, Removing and Installing.
- Remove the inner window shaft strip from the door shell.
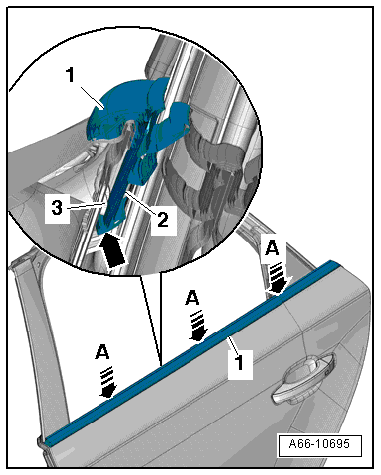
- Insert the Window Slot Seal Tool -T40219- next to the guide-4- for the window shaft strip -3- and hold it on the strip -2-.
- The front section -1- of the Window Slot Seal Tool -T40219- must be positioned as illustrated.
- Push the Window Slot Seal Tool -T40219- gently in direction of -arrow- to release it.
- The retaining strip must audibly unlock.
- Remove the window shaft strip upward from the door flange using the Window Slot Seal Tool -T40219-.
- Remove the window shaft strip.
Installing
Install in reverse order of removal. Note the following:
 Note
Note
When installing, the lower edge of the window shaft strip can be coated with tire mounting paste.
- Position the window shaft strip -1- on the door fold and press on it evenly -arrows A-. When doing this, the strip -2- must audibly engage.
- The retaining strip must fit -arrow- under the retaining plate -3-.
Special Tools
Special tools and workshop equipment required
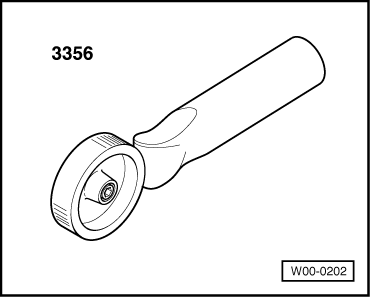
- Roller -3356-
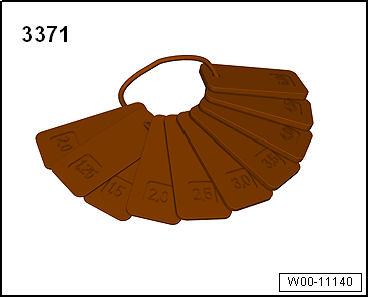
- Gauge - Gap Adjustment -3371-
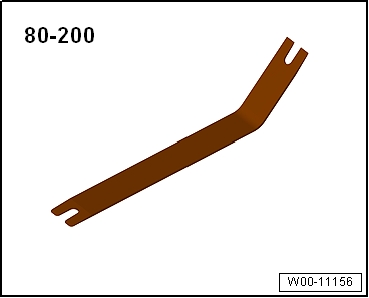
- Pry Lever -80 -200 -
- Front and Rear Door Template -T40038/8-
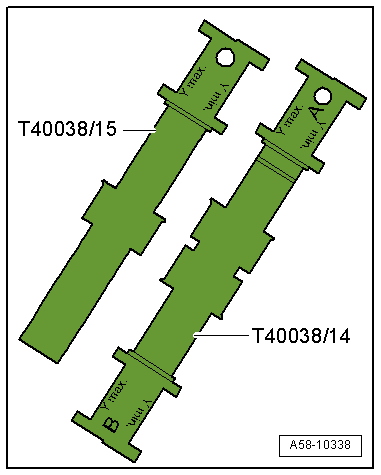
- Front and Rear Door Template -T40038 /14- and for Avant models the Rear Door Template -T40038 /15-.
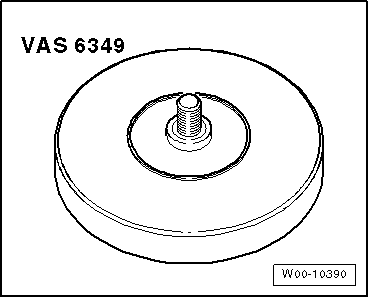
- Adhesive Strip Remover -VAS6349-